Teacher QuickStart Guide
We’ll provide links to detailed walk-throughs of each topic, but this handy QuickStart guide will provide some essential instructions to get you up and running in the CareerSafe Campus as quickly and easily as possible.
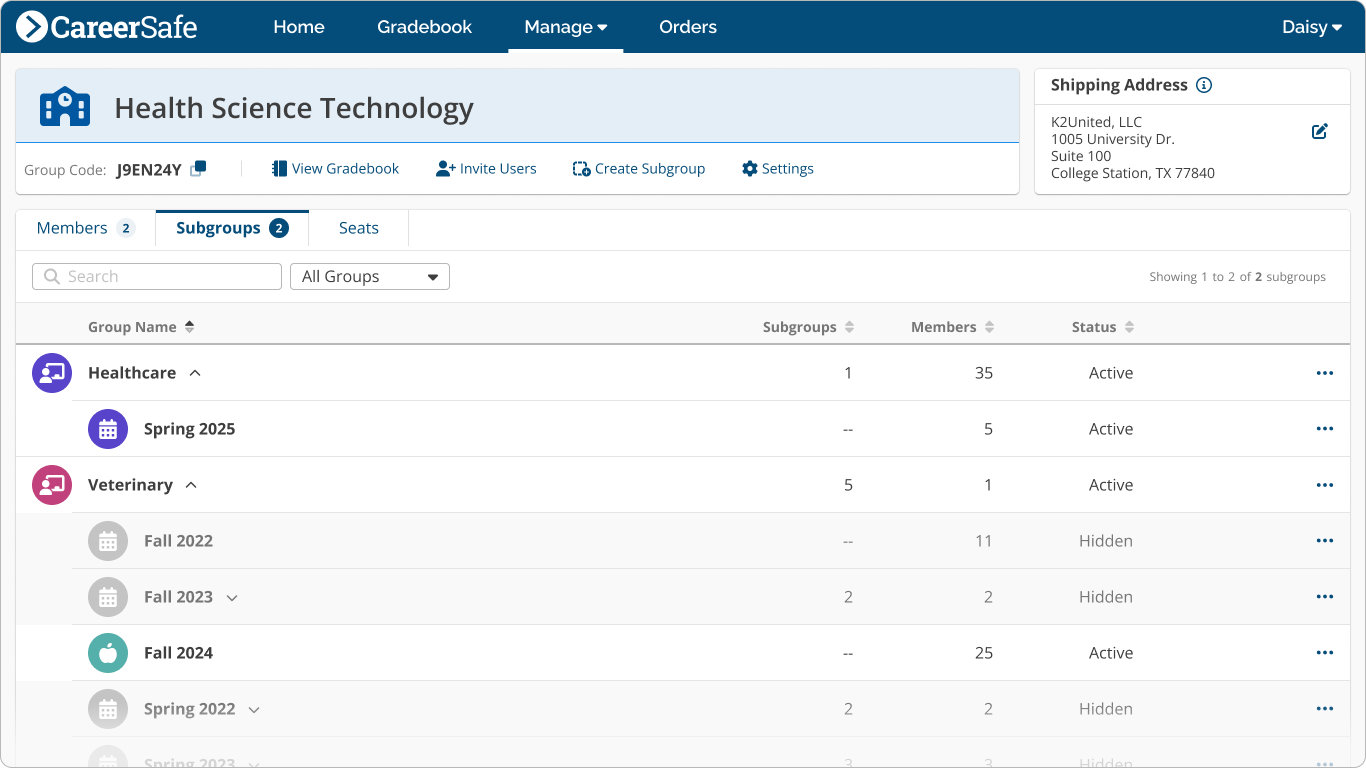
Creating a Group
Subgroups are a great way to organize your students into smaller groups (like semesters, periods, or classes). To create subgroups:
- Sign in to your CareerSafe Campus account.
- In the navigation bar on your Home page, click Manage then Groups.
- Click the Create Subgroup button in the Group Detail Card. Fill out the required fields and click the Create button. You’ll now have a subgroup visible in your Subgroups Tab.
- You can repeat this process for as many groups as you need to create.
Our Group Management support guide provides more details and step-by-step instructions for creating and managing groups.
Adding Members
We recommend adding members via group code. To use this method:
- Ensure students have a CareerSafe account (our Accounts and Passwords guide provides detailed instructions for account creation).
- Provide the group code (found in the Group Detail Card of the Manage Group page) to anyone you’d like to invite to your group.
- Once students have entered the code in the Join Group Card on their own CareerSafe Campus Home page, you’ll be able to approve their request on your Home page.
You can also follow the steps below to add members to your group:
- From the Manage Group page for the group you want to add members to, click the Add Members button in the Group Detail Card.
- Choose whether you’d like to enter users manually or upload a file to add members (recommended for adding 10 or more).
View our Group Management guide for detailed guidance and additional options for adding members.
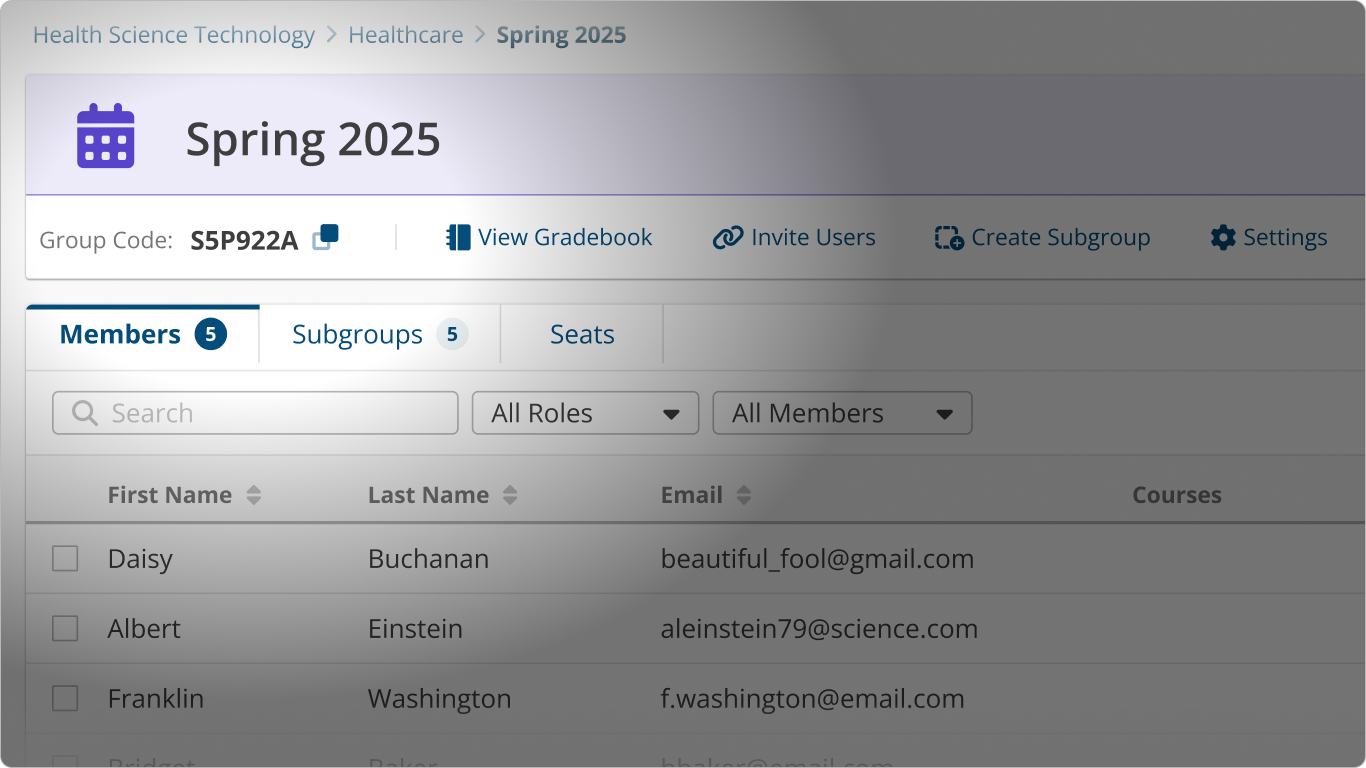
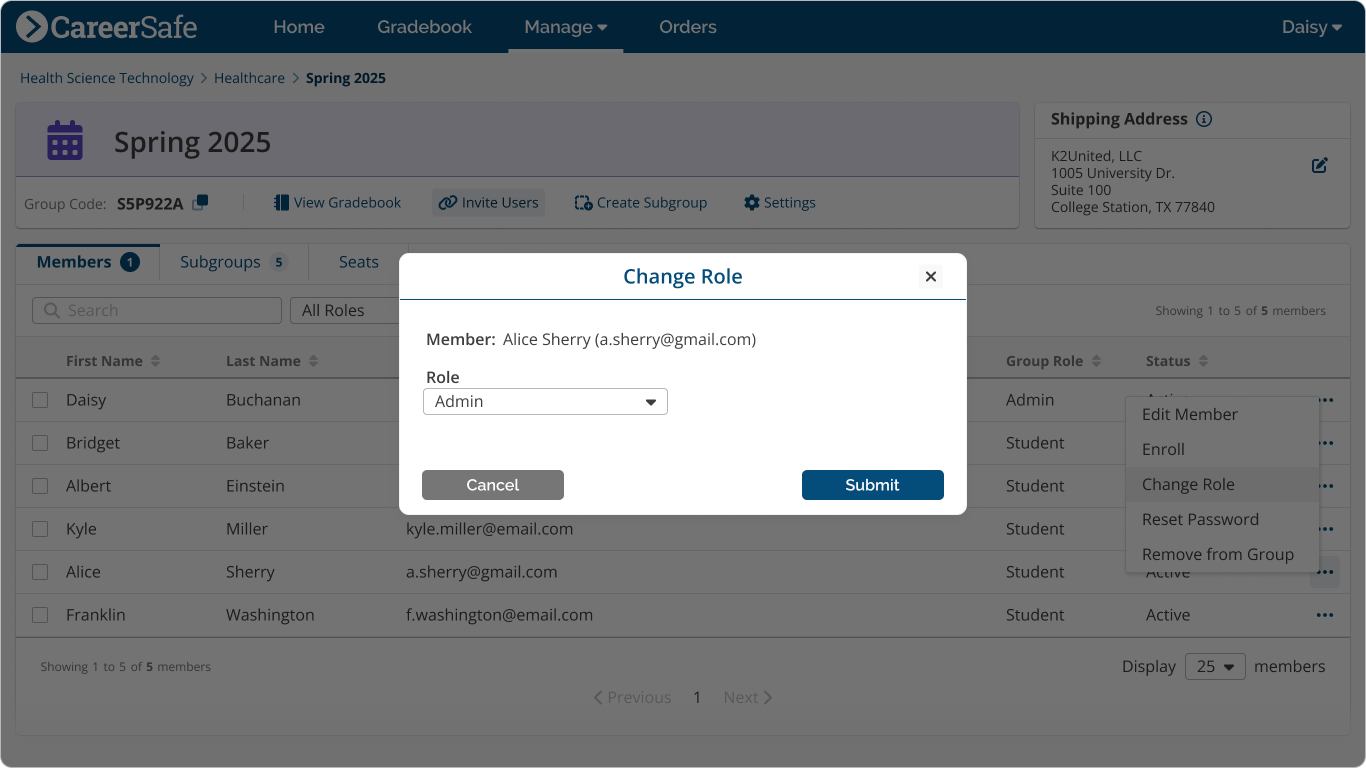
Assigning Roles
If you need to change a member’s role once you’ve added them to your group, you can do so from the Members Tab of the Manage Group page for the appropriate group. To change roles:t:
- Click the More Actions icon () at the right end of the member’s row in the Member table.
- Click Change Role on the popover menu.
- Select the role you want the member to have from the drop-down menu.
- Click Submit.
Enrolling Students
From Group Code Join Requests
Once a member has requested to join a group, they’ll be listed as “Pending” in the table on the Members Tab of your Manage Group page for that group. To approve and enroll:
- Select the checkboxes next to the Pending members you’d like to approve.
- Click Approve button above the Members table.
- Click the Approve & Continue button on the “Approve Requests” modal.
- Choose a product from the drop-down menu and click Enroll.
From the Members Tab
Use this enrollment path for students who are already Active group members:
- Select the checkboxes next to the Active students you’d like to enroll.
- Click the Enroll button above the Members table.
- Choose a product from the drop-down menu and click Enroll.
You can find detailed steps for enrolling students in our Enrollment guide.
Now that you’ve set up your groups and added members, you’re ready to go! View our Support section for more guidance and help with additional questions.